TidyUP is available within a Canvas course to help quickly identify and clean up course content. Identifying and deleting extra files, folders, pages, or assignments that are no longer in use will make your course easier to manage and more usable for everyone.
Note: TidyUp does not identify files that are being used in Question Banks
Enable the TidyUp tool in a Canvas course
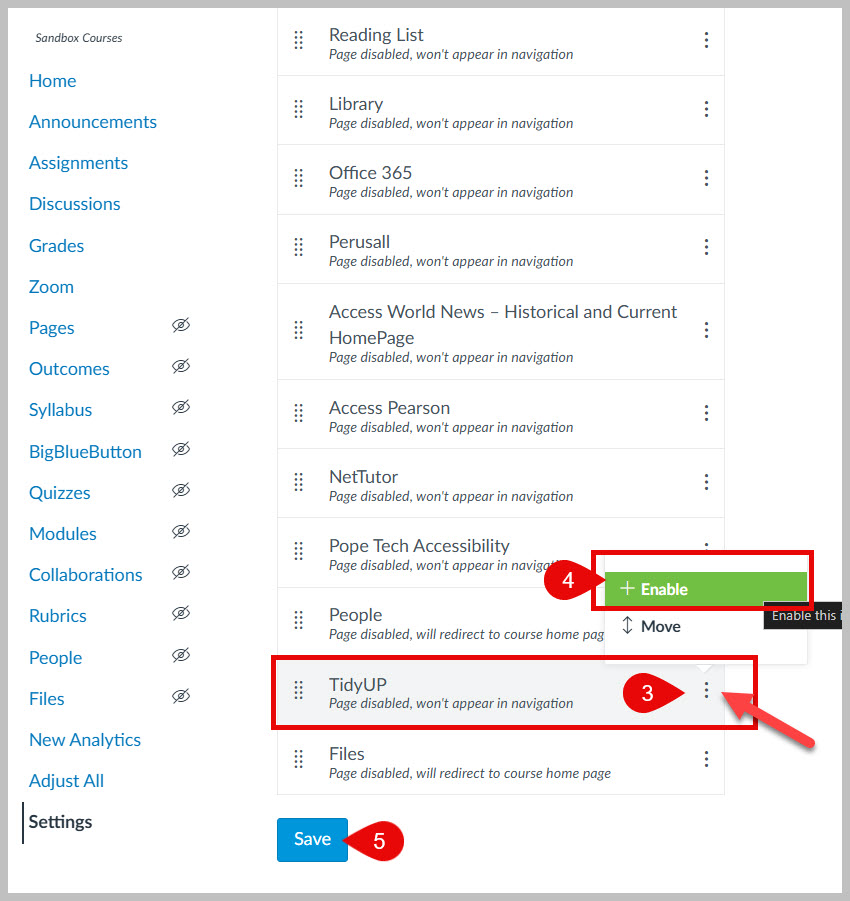
Start within your Canvas course, click on Settings at the bottom of the course navigation menu.
Click on the Navigation tab.
3. Click on the 3 dots to the right of TidyUp.
4. Select + Enable.
5. Click Save.
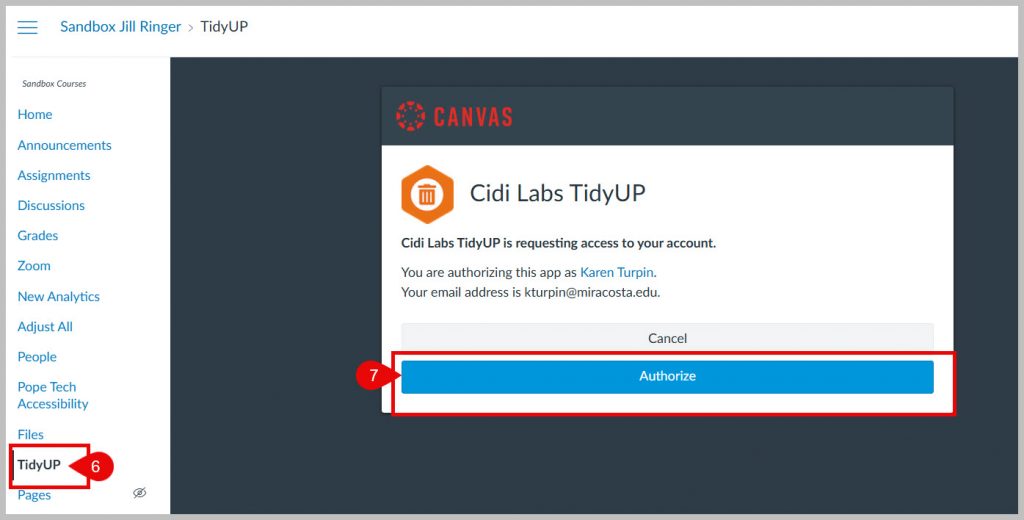
The TidyUP tool will now be available on your course navigation menu near the bottom of the list.
6. Click the TidyUP link.
7. Click the Authorize button the first time you launch the tool.
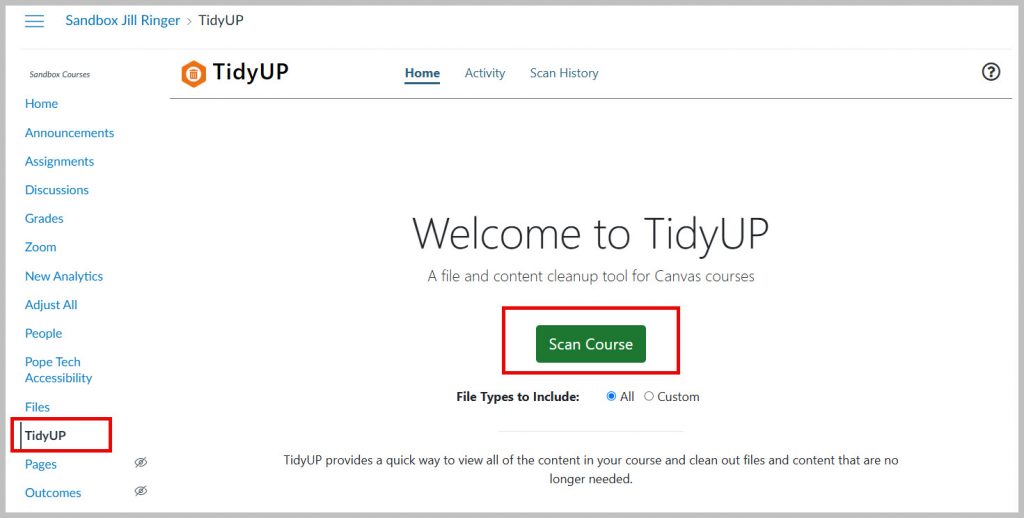
You are now ready to use the TidyUp tool. Click the Scan Course button to get started.
Canvas Feature Options (Recording, 27 minutes) – 1/16/2024 workshop by Karen Turpin and Nadia Khan
Pronto Open Lab – Learn How to Level Up Your Engagement! (Zoom Recording, 46 minutes) – 1/17/2024 workshop by Lauren Luker (Pronto) & Jim Julius. This workshop provides an overview of Pronto’s features and how to get started with using Pronto to enhance class communication. This recording requires a passcode: +I2?3aXA
Social Annotation with Perusall (Recording, 1 hour 5 minutes) – 1/16/2023 workshop by Jim Julius, Michael from Perusall, Rob Bond, John Kirwan, & Aaron Roberts
Hands-On Labs in an Online World – (Recording, 1 hours 12 minutes) – 12/3/2020 workshop by Lynne Miller, Barbara Juncosa, Paul Katson, Scott Fallstrom, and Dominique Ingato.
Additional recorded zoom sessions and online teaching guides from Summer 2020 can be viewed within the PROJECT Online Teaching Foundations Canvas course.
DesignPLUS is a user-friendly Canvas plug-in that helps you build polished, engaging, and accessible courses efficiently. DesignPLUS is licensed for all faculty at MiraCosta College using Canvas.
DesignPLUS includes four primary tools:
Sidebar – a suite of rich content editor tools that help you create organized, accessible, engaging, and visually polished content in Canvas with ease.
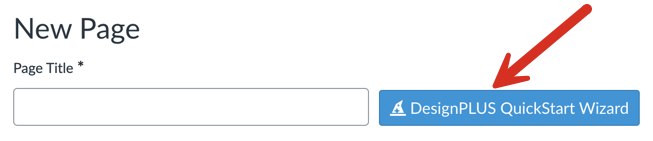
QuickStart Wizard – design tools available when you are editing new content in Canvas (a new page, assignment, discussion, etc) to quickly add visual design elements or adopt existing templates.
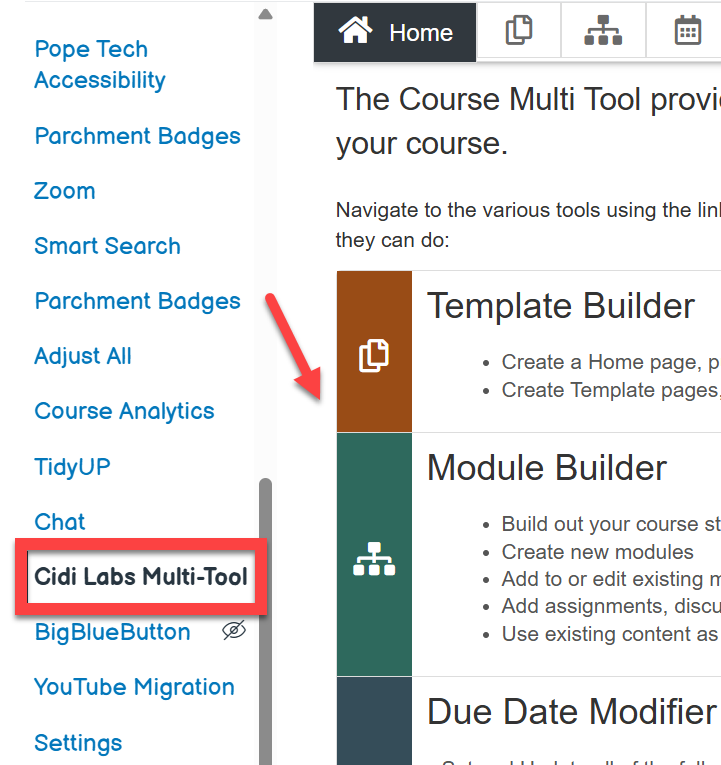
Cidi Labs Multi-Tool – a time-saving tool that lets you quickly set up an engaging home page and create accessible templates for reuse across Canvas. It also can help you quickly build repeatable, consistent module structures. You can also adjust due dates and delay announcements using this tool.
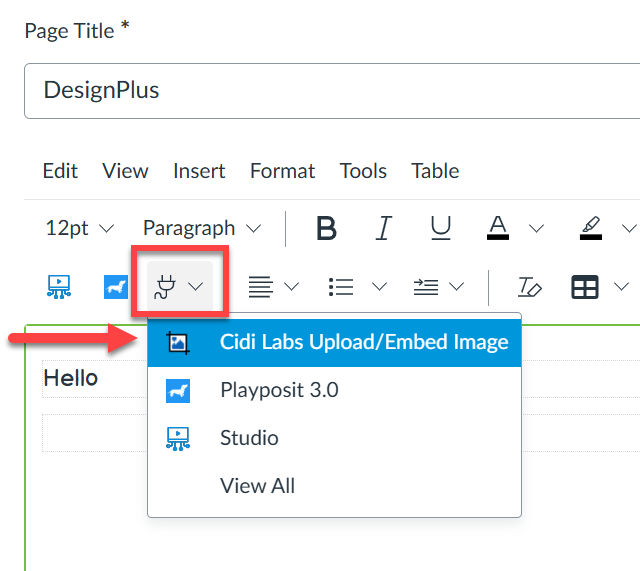
Upload/Embed Image Tool – a tool that enables you to discover, add, edit, and place course images in Canvas
DesignPLUS Sidebar
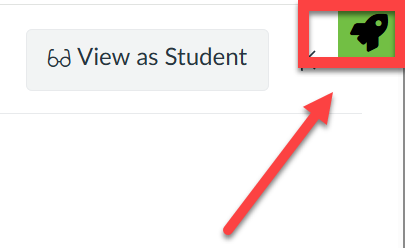
When you are editing Canvas content, select the sidebar icon at top right to launch the Sidebar tool, which will then appear on the right. The Sidebar tool includes many enhancements to the Rich Content Editor in Canvas, enabling you to easily add a variety of attractive and engaging content elements.
Getting Started with the Sidebar
Learn more about the DesignPLUS Sidebar (Tap to open a list of resources).
The QuickStart Wizard button appears when you open a new page, assignment, or syllabus for editing. Activating the Wizard gives you access to templates for the entire page, or pre-defined content blocks of different types to help you customize the page.
Getting Started with the QuickStart Wizard
Cidi Labs Multi-Tool
The Cidi Labs Multi-Tool shows up in the left course navigation menu of your Canvas course. You will be asked to authorize Cidi Labs to access your Canvas account. Once the Multi-Tool is set up, you can select from a variety of tools to help rapidly develop and update your courses. Watch the Multi-Tool orientation video to learn more about what it can do for you.
This tool enables you to manage course images directly in Canvas. Upload, crop, resize, and embed images anywhere in your course, or quickly add free, high-quality images from Pexels and Unsplash. To access the Upload/Embed Image (U/EI) tool, go to apps through the Rich Content Editor (RCE). The first time you access the tool, you will be asked to authorize Cidilabs to access Canvas so this tool is available for you. Watch the Upload/Embed Image orientation video to learn how this tool works.
Visit the Canvas Release Notes/Upcoming Changes page within the Canvas Community. This page is updated by Instructure and is the central location for communicating all Canvas’s significant upcoming changes. Check the Canvas System Status Updates for real time updates about existing features within Canvas.
Dear colleagues, happy 2026! Please see below for reminders of resources to help you and your students to succeed in online environments this spring. If you didn’t see my email last week with updates about new and useful tools for getting your Canvas courses ready for the semester, I’d invite you to first check that out. And definitely look for the online ed Flex workshops coming this week.
The TIC website is a great starting point for all kinds of information and support for teaching with online technologies – see the last section of this email for specific TIC links to MiraCosta technologies supporting online teaching and learning.
Ongoing faculty support – You can set a meeting with Instructional Designer Nadia Khan, for help with Canvas and teaching with tech. We have another instructional designer also available for 1-1 support, Stephanie Kelley, especially for faculty working on use of OER/ZTC course materials.
Tech Support – Canvas options include 24×7 phone and chat support. Just click the Tech Support button at lower left in Canvas! Zoom and other MiraCostatech support for faculty is available through the MiraCosta employee help desk.
Expectations and Recommendations for Faculty Teaching Online
Accessibility – A new federal regulation taking effect in spring reinforces the requirement for all of our instructional tools and materials to be accessible. Please be sure to use the PopeTech accessibility checker on your Canvas classes, and use the auto-captioning and caption cleanup tools for videos created via Canvas Studio, Zoom, or YouTube. Check out our recent accessibility workshop recordings!
Zero- and Low-Textbook Cost Course Sections – If you are teaching one of these, please be sure to mark your class in SURF as LTC or ZTC if you haven’t already, so students know that your class has lowered that access barrier!
Artificial Intelligence class policy – Students want to know the “rules” around using AI in your class. There is not a one-size-fits-all answer to this question so there is not a blanket college policy. Please check out a 1-page guide to help you craft language to share with your students if you’re still working on that! Learn more about AI tools and guidance for MiraCosta faculty and students.
Support for Your Students – Please help your students to be aware of and make use of these important services and resources!
Student Online Academic Readiness workshops – In collaboration with the library, I’ll be offering a number of these across the first nine weeks of the term – see all dates and times on the MiraCosta Online site and in Canvas announcements. These workshops engage students with resources MiraCosta provides to support them, as well as habits and attitudes of successful online students. Encourage your students to attend and, if you like, find out which of your students participated in order to incentivize their attendance. Faculty are welcome to attend as well!
Technology Needs – Be sure to share the form for students to fill out if they need a laptop and/or wifi hotspot to succeed this semester.
Tech Support – At lower left in Canvas is a button for students to quickly access Tech Support options, including 24×7 phone and chat support from Canvas, and our local MiraCosta student help desk.
Online Student Support Access Points – the Student Support Hub in Canvas, accessed via the Student Support button on the left in Canvas, gives quick access to online support from the library, Learning Centers, counseling, career center, open computer lab staff, student help desk, health services, CARE team, and more! The Ask the Spartan chat integrated into MiraCosta’s website provides both automated responses and the opportunity to connect to Live Chat with staff from many student support areas. The Help Hut and Online Education webpages are also great starting points for students to connect with all kinds of support services when they’re not in Canvas.
MiraCosta’s Online Education Tools
Select the links for a detailed MiraCosta-specific overview (and often, recorded Flex workshops) for each tool below. Please don’t hesitate to contact me if you have questions about these or other resources.
Adjust-All and TidyUP– make it easier to copy and reuse Canvas courses
DesignPLUS – a brand new Canvas visual design tool
Zoom – if you’re using Zoom, make sure you’re using a pro Zoom account through MiraCosta.
Canvas Studio – enables faculty and students to create videos while inside Canvas. Faculty can create interactive discussion or quiz activities based on video. Auto-captioning and caption clean up tools are high-quality and easy to use, but not automatic!
Pronto is an incredible mobile-friendly and Canvas-integrated messaging platform that’s ready to use in every course.
Pope Tech helps faculty detect and correct accessibility issues within Canvas. The PopeTech dashboard tool (via the Pope Tech Accessibility course menu item) provides a course-level guide for addressing all accessibility issues in a course in one place.
SensusAccess provides multi-format course material accessibility and file type conversion options for students. If you notice an S symbol next to your page title and next to items in the Modules view, that’s SensusAccess.
Perusall is a social annotation tool available within Canvas that makes it easy for students to comment/discuss right on a text, document, or image.
Lab Archives Electronic Notebook is an online notebook especially useful for translating lab manuals and student notes/work into the online environment.
WeVideo (formerly PlayPosit) – This video interaction tool offers more complexity and options than Studio. Studio is a great place to start, but if you’re looking for more types of interactivity to add to your videos, this is a great option.
Turnitin – help students learn to properly cite sources and avoid plagiarism. Also provides grading and peer review tools for written work. Turnitin has included an AI detection capability for instructors, but please beware of false positives should you use it. Most experts agree that AI detection tools are extremely unreliable.
Professional Learning for Online Teaching – Spring Possibilities
June 23-25: The CCC Online Teaching Conference returns to Anaheim. Consider submitting a proposal (due Jan. 31)! MiraCosta faculty who are presenting can get all travel expenses covered from the Online Ed budget!
@ONE online teaching courses are open to all California Community College faculty. Some are self-paced and available anytime. Facilitated spring courses are open for enrollment now, and are completely free. They’ll fill, so sign up now if you’re interested!
Don’t hesitate to reach out if you have any questions! Best wishes for a great spring!
– Jim
Jim Julius, Ed.D. Faculty Coordinator, Online Education