MiraCosta Course Design Tool Updates
Dear MiraCosta faculty,
As you create and update spring classes in Canvas, there are some important updates that happened in the last month which you should be aware of!
- We’ve added DesignPLUS to Canvas. This is a powerful tool to make it way easier to design your classes with visual style and consistency. DesignPLUS gives you editing tools that used to require diving into HTML, as well as templating tools to make it easy to create a visual identity and structure that you can repeat across your course elements. Check out our TIC page on DesignPLUS to learn more. We also have FLEX workshops (via Zoom) on DesignPLUS on Monday and Tuesday (both days 11-12).
- Turnitin users: the Turnitin 1.1 Canvas integration is no longer available. We already had Turnitin 1.3 integration available and most of our Turnitin users were already using either that (if you like using Turnitin’s grading/feedback tools) or the Turnitin Plagiarism Framework (which uses Turnitin for similarity checking but Canvas grading and feedback tools). If you were still using the Turnitin 1.1 tools, you will need to update your courses. For more info, see our Turnitin overview as well as our Turnitin 1.3 and Turnitin Canvas Plagiarism framework guides.
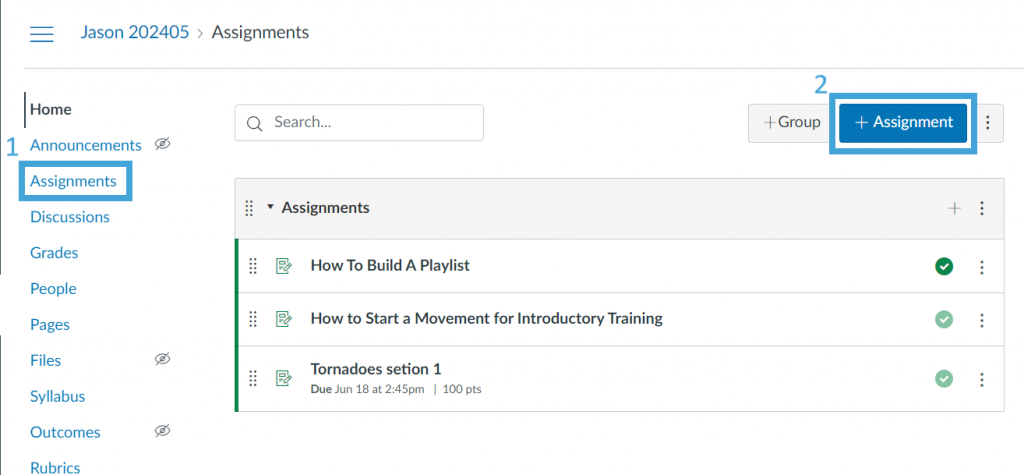
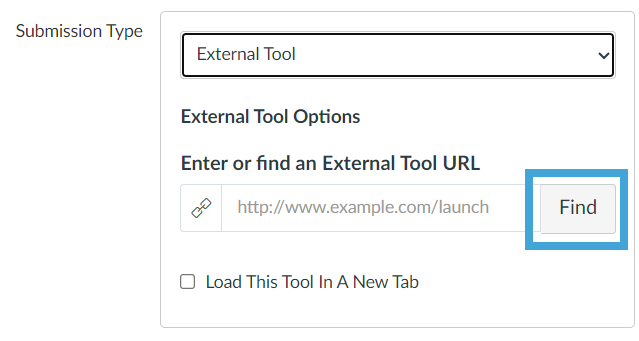
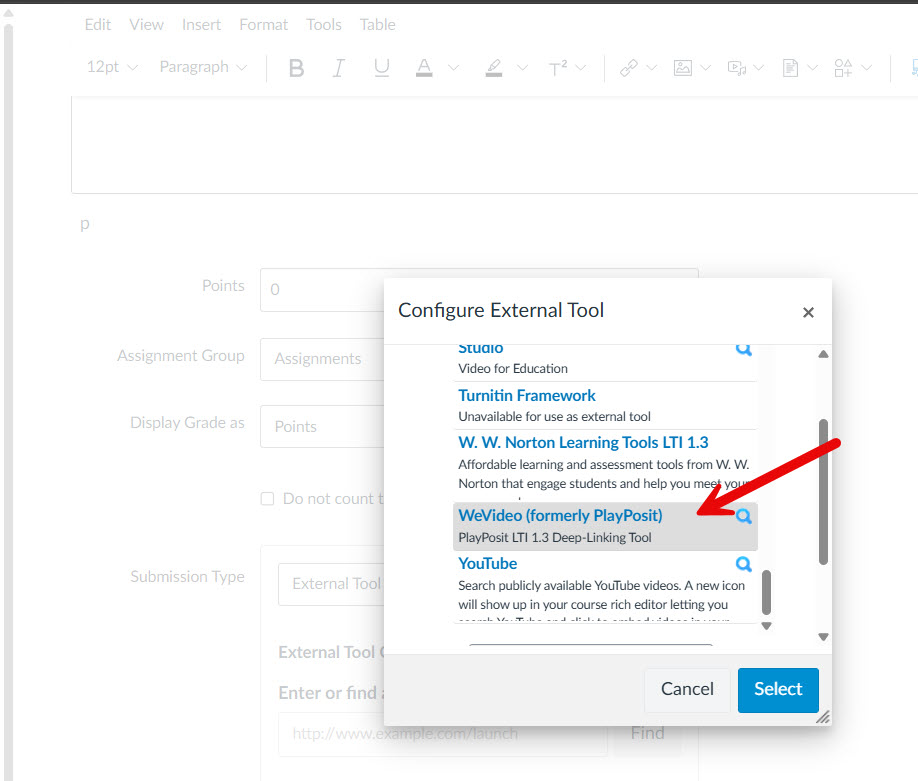
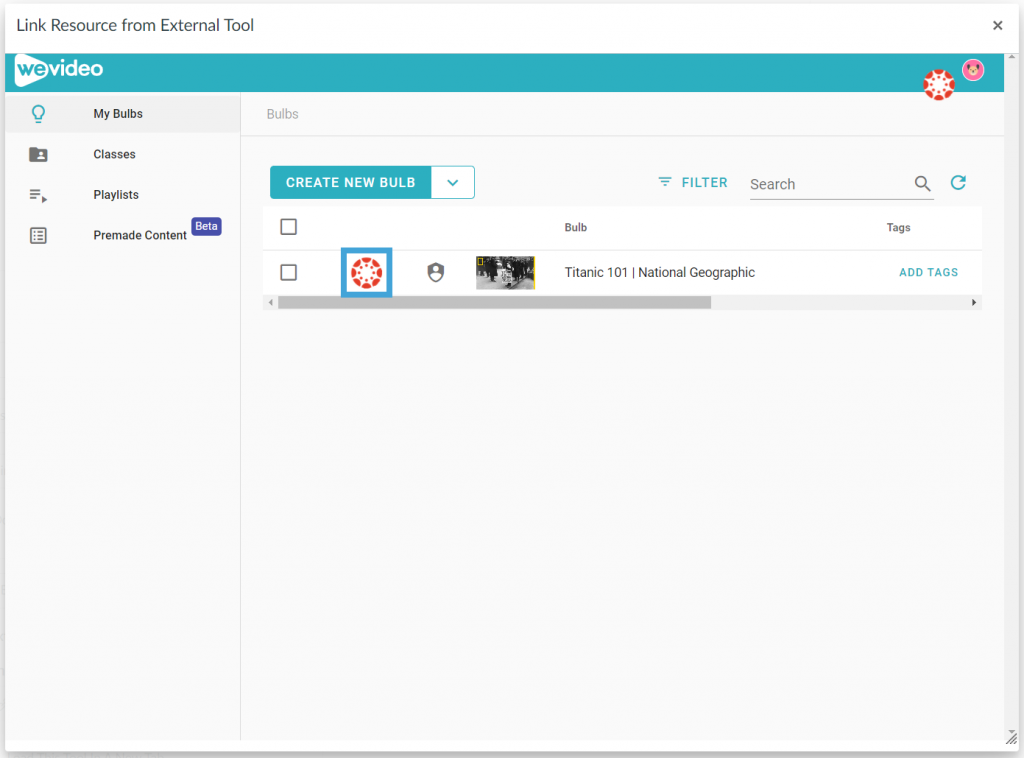
- PlayPosit users (or anyone interested in a tool to create engaging assessments and interactions embedded in video): PlayPosit has been renamed WeVideo and now includes the ability for instructors to directly record instructional videos rather than having to import videos created elsewhere. Existing PlayPosit videos and activities should continue to work seamlessly in Canvas. We are still learning more about this upgrade and will soon have more updated information on our PlayPosit/WeVideo TIC page. If you’d like to learn more about this powerful tool for instructional video and interaction, you can register for a one hour TechConnect webinar: 1/20 at 11:30 am or 1/27 at 11:30 am.
- Canvas tutorial links were updated. This is the second time Canvas has done this in the last several years. If you include Canvas tutorial links in your courses to help your students (a great practice!) and those links predated the last time Canvas did this, they may no longer work. Using the Canvas link checker tool (see below) can help you catch this.
Also keep in mind these tools as you build, reuse, update, and polish courses:
- Adjust-All enables bulk updates of course due dates, announcement timing, etc.
- TidyUP helps strip out unneeded, outdated files and content from Canvas courses.
- the Canvas link checker is always an important tool to use when copying forward old courses for reuse – it will quickly help you identify links which are no longer working
- the PopeTech Dashboard is a great way to make sure your course content is fully accessible – and remember that this is an absolute requirement for all Canvas classes based on federal regulations that take effect this spring.
I’ll send out more general reminders with my comprehensive start-of-term email soon, but wanted to get this to folks who may benefit from this info now.
Jim Julius, Ed.D.
Faculty Coordinator, Online Education