Downloading Zoom Recordings and more….
Beginning October 2, 2025, all Zoom recordings created between 2017 and July 31, 2024, will be automatically deleted in accordance with the California Community Colleges Chancellor’s Office directive. It is advised to download all Zoom recordings that you would like to keep prior to this date and hosting those Zoom recordings on an alternate media server.
Step 1: Download the Zoom recording files.
View a webinar by Jill Ringer that will walk you through the Zoom download process.
- Flex ITS Open House Plus Zoom Recordings Walkthrough (Recording, 1 hours 2 minutes) – 8/12/2025 – workshop by Jill Ringer
View a handout on how to download Zoom recordings.
- Download Zoom Recordings to an MP4 Video File – PDF handout on how to download Zoom recordings from Zoom to a .mp4 file format.
Step 2: Upload your Zoom recording files to a streaming media service.
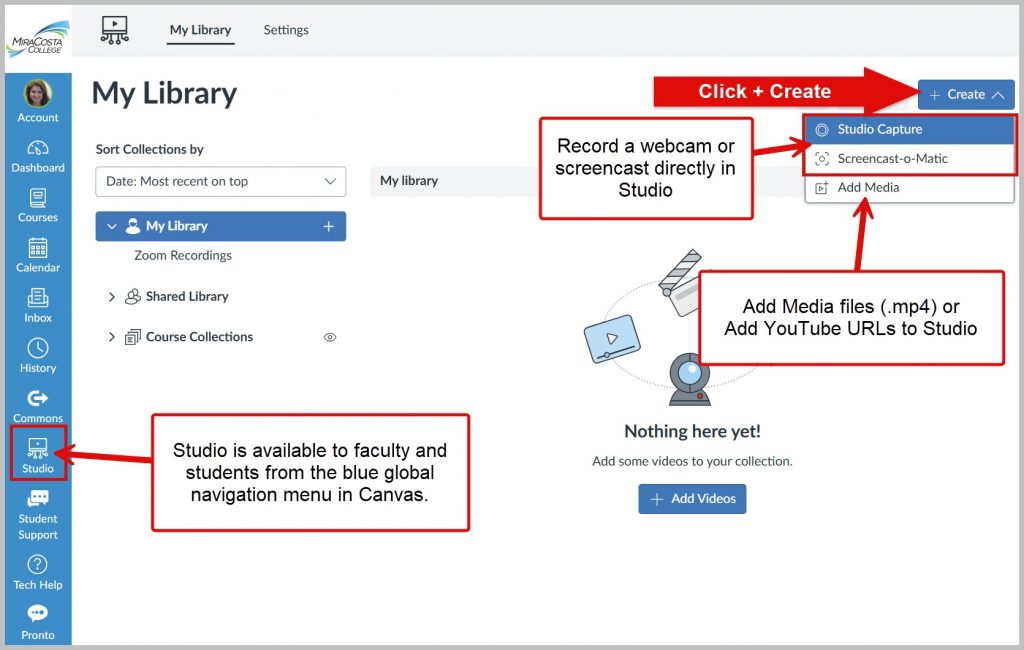
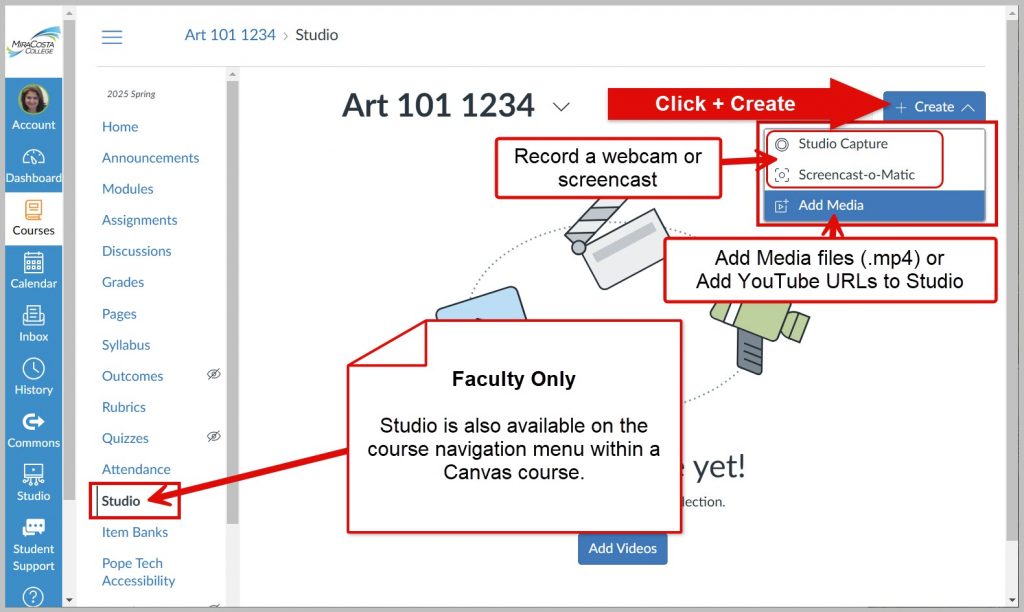
Canvas Studio
This option is integrated directly in Canvas. At this time we do not have any storage limits so this is the most ideal and probably easiest place to store your Zoom recordings. For future zoom recordings you can even have those recordings automatically upload to Canvas Studio.
- To access Canvas Studio go to: https://miracosta.instructure.com
- Click on the Studio icon on the main course navigation menu within Canvas.

Here are some guides that will walk you through the process of uploading video files & using Canvas Studio.
- How do I upload media files in my Canvas Studio account?
- How do I use Studio through the Rich Content Editor in Canvas?
- View All Canvas Studio Guides
- View the TIC Canvas Studio page
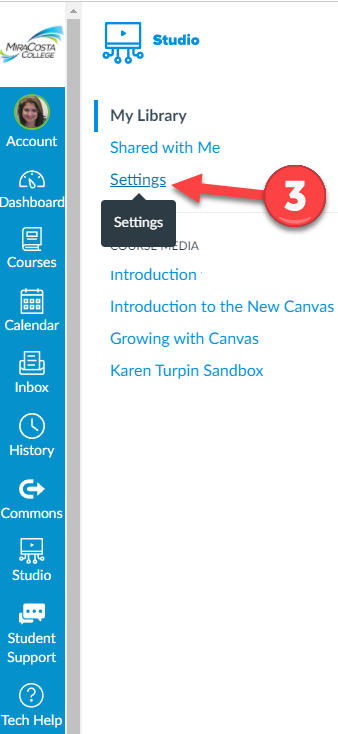
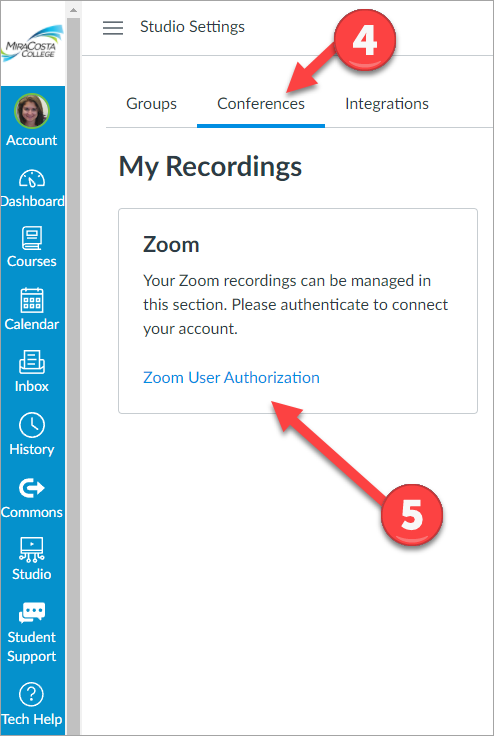
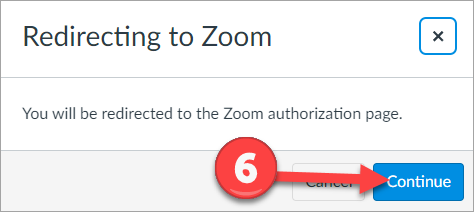
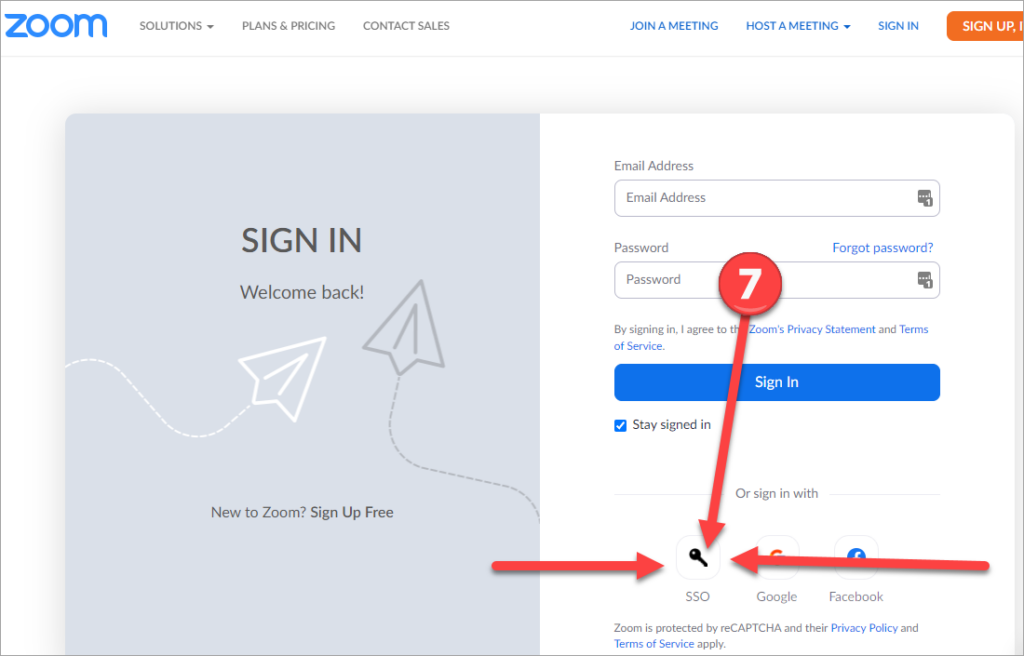
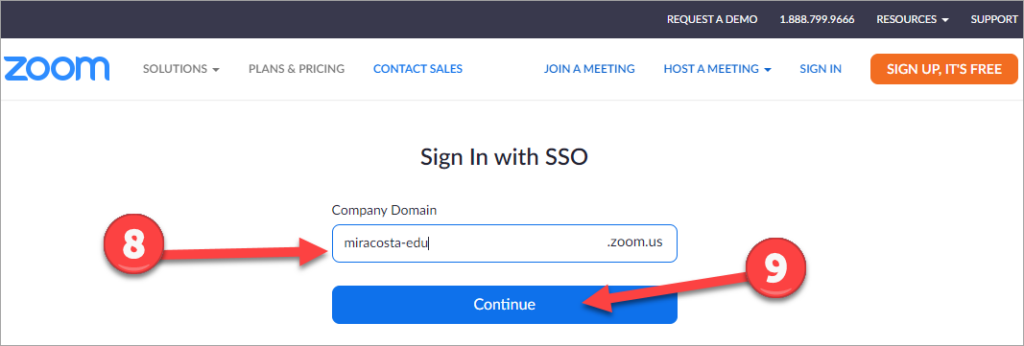
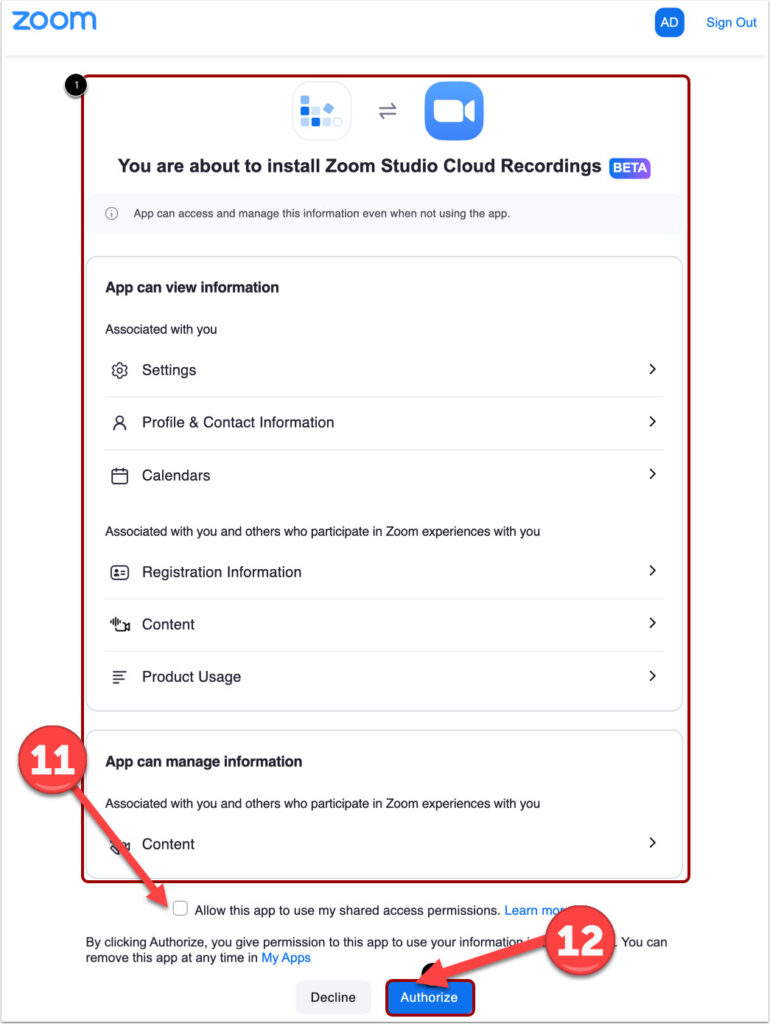
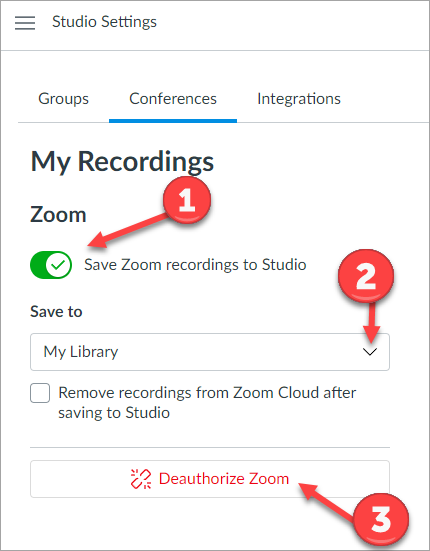
Zoom Connection to Canvas Studio
Canvas Studio supports an integration with Zoom that allows Zoom to automatically upload future recorded meetings into Studio. Here is how you can authorize the Studio Zoom integration in your Canvas Studio Settings.
Zoom Video Migration FAQs
How do I ensure that the video captions also migrate?
If downloading the video to your computer and saving it to One Drive, make sure to also save the .cc.vtt file and add it to the MP4 file.
Canvas Studio generates auto captions to all Zoom videos uploaded to its library. Be sure to review the captions for accuracy.
Who do I contact if I need help?
Got questions?
Contact the following:
ITS Helpdesk: (760) 795-6850
Jill Ringer from ITS: jringer@miracosta.edu
Karen Turpin: kturpin@miracosta.edu
Nadia Khan: nkhan@miracosta.edu