Instructional Design Drop-in Sessions 1/24-1/28, 2022
Dear colleagues,
Kudos to all of you for all the work you’ve done in preparation for the start of term next week. I wish you all the best as you welcome your students next week.
I am an instructional designer at the college, and I’ll be hosting drop-in instructional design sessions next week to support faculty with course and instructional design.
Drop-in if you have a question related to online teaching, or if you just want to bounce off an idea or two about course design.
Instructional Design Drop-In Sessions:
Monday, Jan 24 –11:00 a.m. –1:00 p.m.
Tuesday, Jan 25 – 1:00 p.m. –3:00 p.m.
Wednesday, Jan 26 – 10:00 a.m. –12:00 noon
Thursday, Jan 27 –11a.m. —1:00 p.m.
Friday, Jan 28 –9:00 a.m. –11:00 a.m.
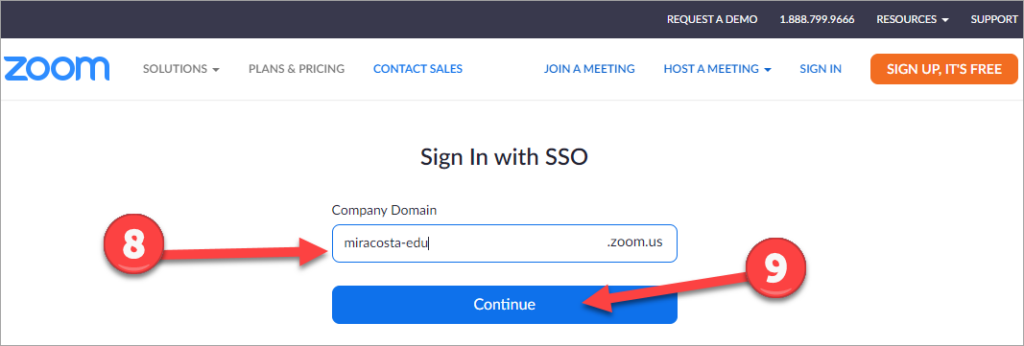
Zoom link for all drop-in sessions:
https://miracosta-edu.zoom.us/j/96513923710?pwd=Nkt3YjJIdzRQQUVjNkxRcjRQdHpyZz09
Have a restful weekend,
Nadia Khan
Instructional Designer
My Pronouns: she, her, hers
https://calendly.com/nkhan-mcc/30min