Filtering Canvas Grades to Only Show SURF Enrolled Students
By default the Grades tool will display all users in the roles Student, Sample Student, Evaluator, and TLC Staff within your Canvas course. This can make grading difficult as the additional roles will mix in alphabetically with your SURF Enrolled students.
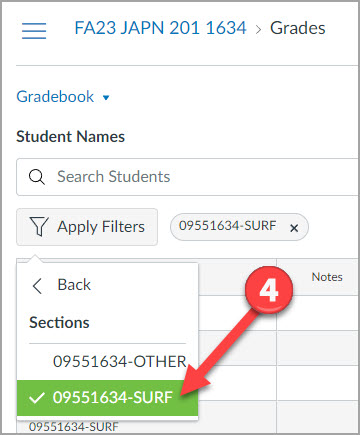
For ease of grading, you can filter your gradebook by section to only display SURF enrolled students.
From within Canvas:
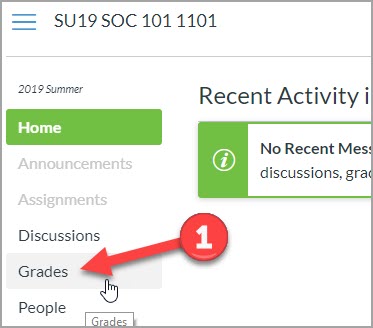
- Click on Grades
- Click the Apply Filters button
- Click Sections
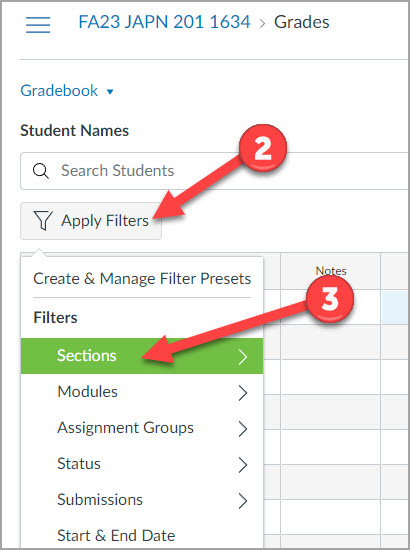
- Select the section number that ends in -SURF
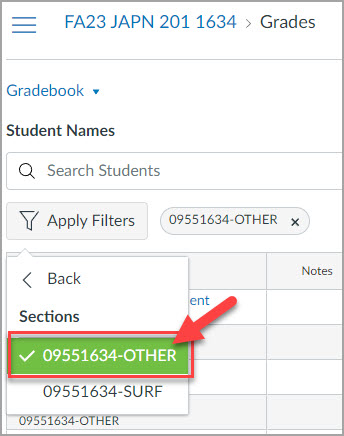
To display only users in the -OTHER roles
- Select the section number that ends in -OTHER to view only non-SURF enrollment types.
To display all users together in the Gradebook
- Select the Clear All Filters link on the right side of the Gradebook to view all enrollment types.

Custom Filters in Gradebook
It is possible to build a gradebook filter in Canvas that is just right for your grading needs. These custom gradebook filters can be used once or saved for future use.